How to add a new row to a Google Sheet 
As part of your processes, you may need to record data in a Google Sheets spreadsheet for various reasons.
In this document we cover how you can append a new row to a Sheet using the Add Row action.
This action enables you to add a new row to a sheet, with or without a header row. The spreadsheet file and the sheet can be selected and determined when designing the Flow or can be dynamically determined when the Flow runs. For example, in your spreadsheet file, you may have a sheet per employee, and based on the employee submitting a Form, you would want to add a new row to the sheet belonging to that employee. Dynamic selection of the sheet enables you to easily achieve.
Settings 
You can find the Add Row action under the Google Sheets category. Drag and drop the action on the canvas and click the cogs icon of the action to configure the settings pane.
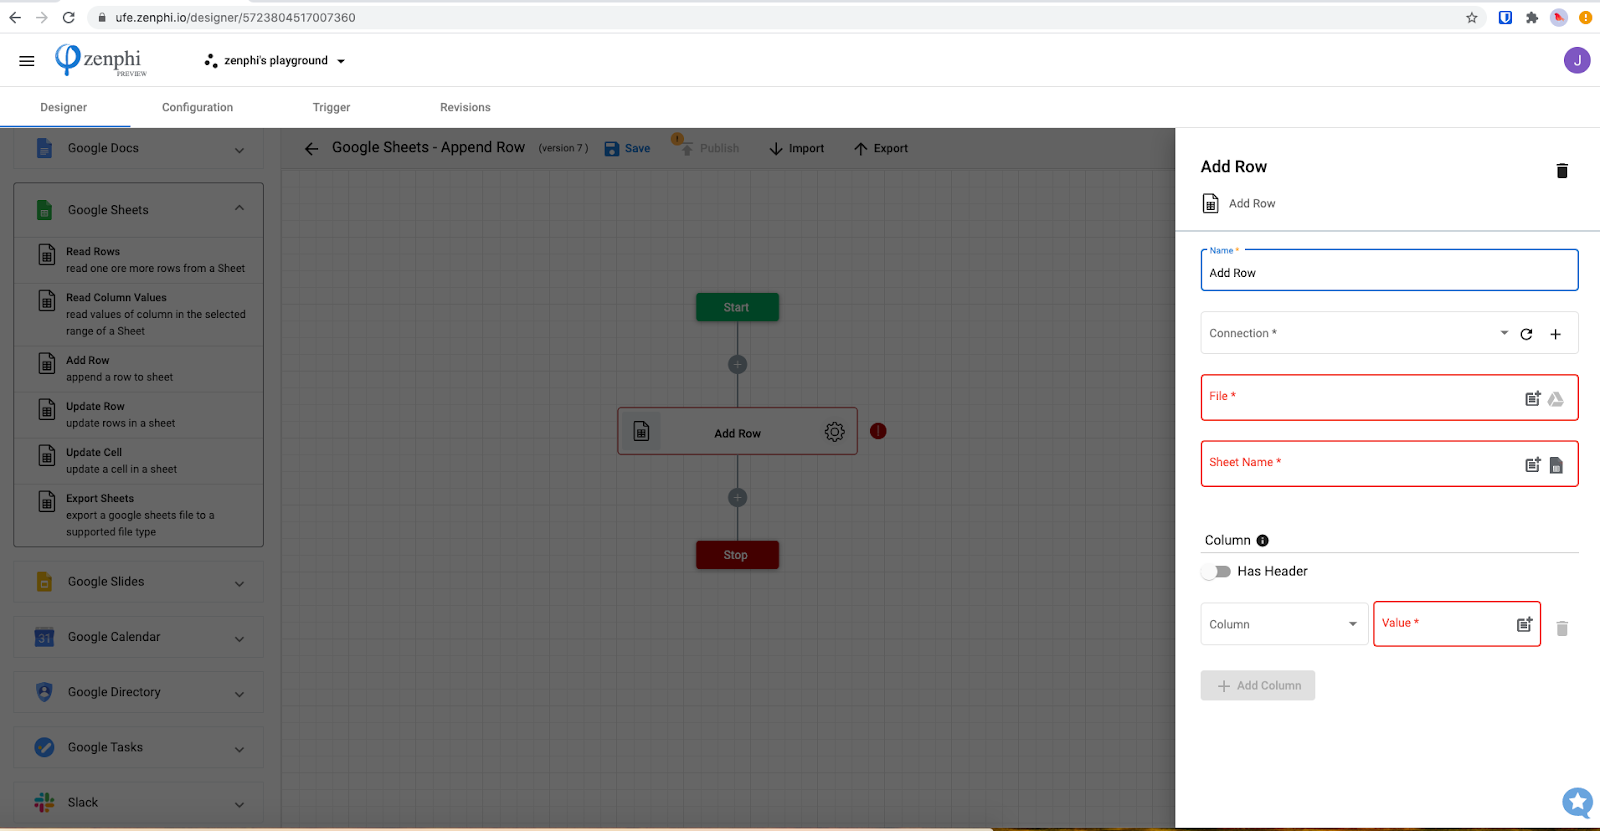
Action Name 
Name your action in a way that it describes the purpose. E.g. Read Employees Information.
Connection 
Select the connection to Google Drive where the Spreadsheet file exists. If you don’t already have a connection, you can quickly one by clicking on the + button. Alternatively, you can create a connection through the Connections page. For this action, you can use any of the following connection types:
- Google Sheets
- Google Drive
File 
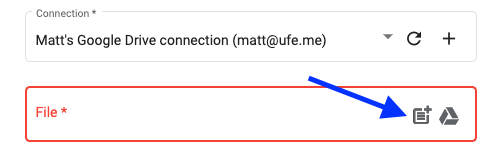
Here you can type the Spreadsheet Id or select a Spreadsheet file from Google Drive for the selected connection by clicking on the drive icon.
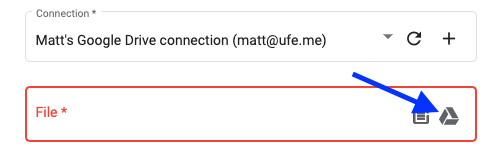
If you want the Spreadsheet file to be determined and used dynamically when the Flow runs, you can click on the variable picker icon to select an item which represents the Spreadsheet file id.
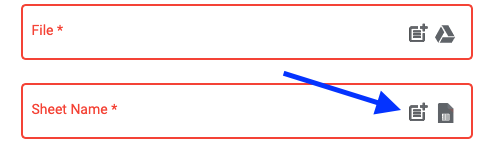
Sheet Name 
In the section you specify the name of the Sheet you would like to append a row to. Like the Spreadsheet file section, here you can either type in the Sheet Name or select it from a list of available Sheets in the selected Spreadsheet, by clicking on the Sheet icon.
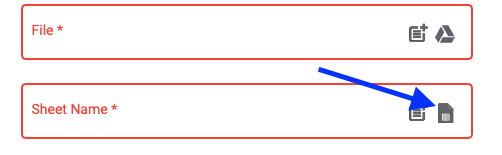
If you want the Sheet name to be dynamically generated and/or selected when the Flow runs, click on the variable picker icon to select the item which represents the Sheet name.
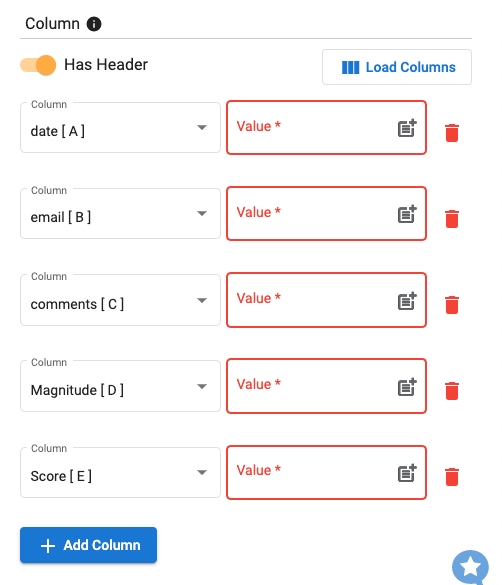
Has Header 
This settings identifies if the selected Sheet has a header row. If turned on, zenphi considers the first row as the header. It will then show the Load Columns button.
Load Columns 
This button only shows if you switch on the Has Header switch. Clicking on this option loads all columns from the Sheet’s header row into the list of columns section.
Columns 
Here you can identify each column and it’s value to be added to the Sheet as part of the new row. If your Sheet does not have a header row, you can select the desired column identifier from the left drop down control, and enter or select a dynamic value from variable picker, into the right hand text control.

You can add a new column by clicking the Add Column button, or remove one by clicking the on the trash bin icon on the right hand side of the desired column.
If your Sheet has headers, and you have clicked on the Load Columns button, you zenphi loads the columns for you automatically and you will just need to assign their values, remove the ones you don’t want to assign a value to, or add a new one, if required. Please note that you should remove the column with formula, so that their value does not get overwritten.
Tip
- You need to configure at least one column for this action to work
- Although it’s recommended, columns do not have to be in order. Ex. A, B, C.
- You don’t have to identify all columns in the Sheet. For example, you can insert a new row by adding values to columns A, B, and D, not passing any value for column. This is mainly to support scenarios where you have a column with formula whose value gets calculated based on other cells’ values. (in our case column C)